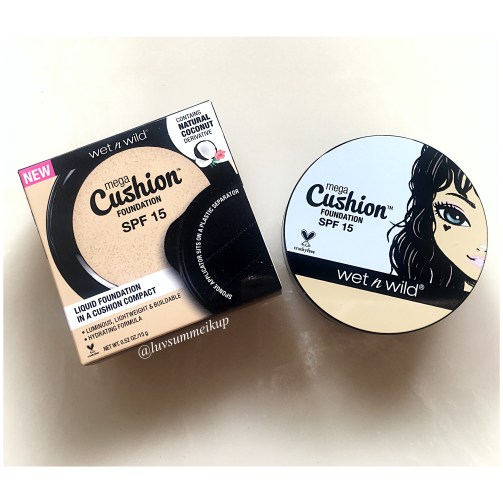
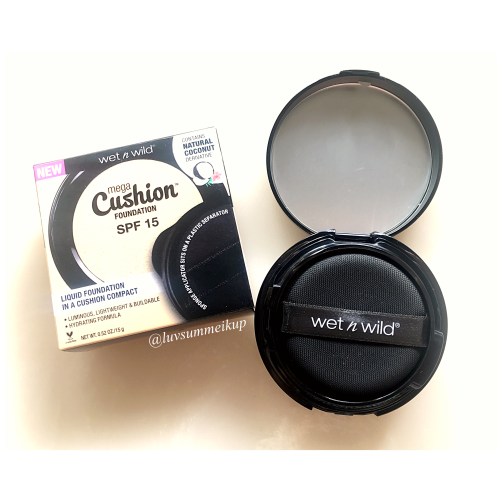
Wet n Wild Mega Cushion Foundation SPF 15
On Ulta’s website, they described this cushion foundation as the match made in makeup heaven. Tap the cushion to add just the right amount of coverage or double tap to add more. It’s perfectly portable too, with an air tight, no mess compact that makes applying liquid foundation a breeze. Infused with coconut derivative, the luminous, lightweight, and buildable formula helps boost hydration and contains SPF 15 for added skin protection.
It has both chemical and physical sunscreen ingredients, which includes octinoxate, octisalate, titanium dioxide, and zinc oxide. It appears to have a slight white cast when I take flash photos; hence, I do not recommend using this if you plan on taking flash photos. I would prefer not to add any SPF if it’s just SPF15; anything under SPF30 will not help much with sun protection. It contains 0.52oz/15g of products; one thing I do no like about the packaging; they claimed to be an “air tight”, which isn’t true. The lid and divider don’t seem to close all the way, and it doesn’t have the snap closure sound either (or perhaps I got a defective one). This is a big concern to me for cushion foundations, because it seems to leak all the moisture in the cushion if it doesn’t close well, and it will dry out faster. My cushion was pretty much dried out after just a week or two of testing; and I did flip the cushion a few times to make sure I used every bit of product. Below, see photos of the packaging:

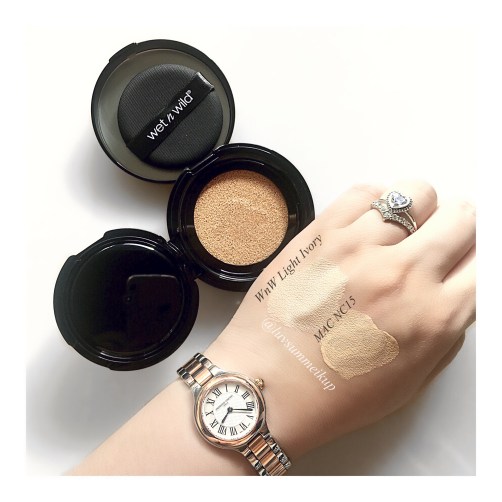
According to the Wet n Wild’s website, it has total of 8 shades; I’m not impressed with the shade range because it doesn’t seem like it has anything in the tanned/dark side. I got the lightest shade Light Ivory, it has a neutral undertone. It is about half a shade too light for my MAC SFF NC15 skin tone (below, please see shade comparison to NC15), but the next shade up (Cream Ivory) is a shade too dark for me. After bronzer and full face of makeup, it matches pretty well anyway.
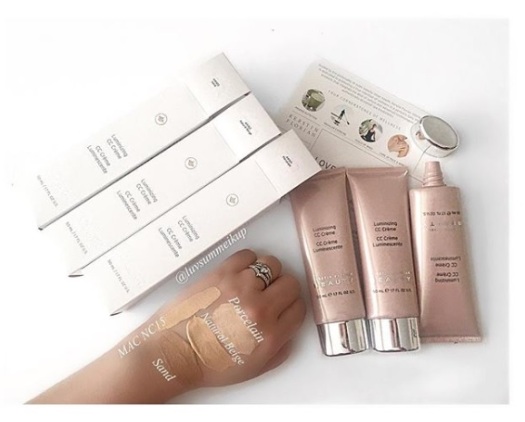
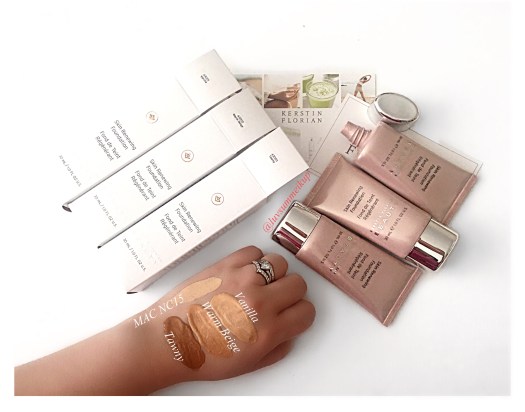
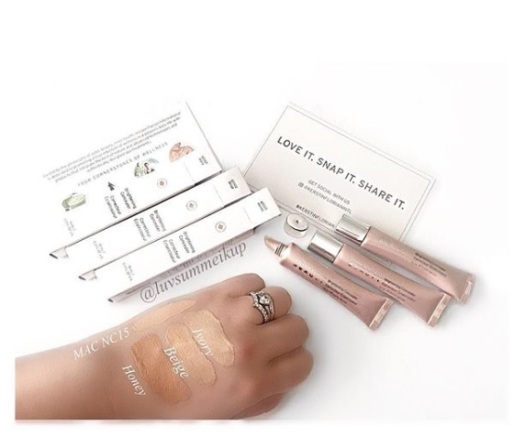
I generally have normal skin, sometimes dehydrated if I don’t consume enough water. For your reference, I have listed all of my other foundation shades here:
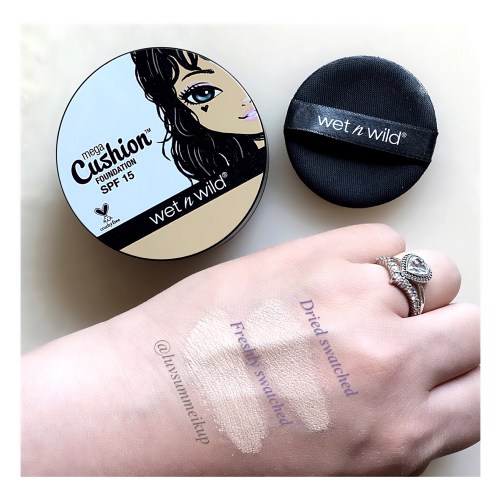
This cusion foundation does not seem to oxidase, it just dries down to a tiny bit darker, but no major difference. Below, please see fresh and dried swatches:
For all of my Foundation Tests, I will start with no primer, no powder first just to see how it will hold up on its own. For cushion foundations, I will first go with foundation brush, then beauty blender, and then the cushion applicator it came with. Lastly, I will pick the best application tool, and add primer and powder to do a final test.
A) Using a foundation brush:
At 7:00am, I applied 2 layers and got medium coverage, I applied another layer (3 layers) for high medium coverage. It did not give me full coverage because I was still able to see slight redness peaking through. It gave me a natural finish on my normal skin. It did not set on its own; after 20 minutes, my skin still felt tacky. However, surprisingly the bronzer and highlighter went on ok. It did not diminish my pores, but did not exaggerate them either.
At the 4 hour mark (11:00am), nothing major has changed, except when I laid my hand on my chin, the foundation came off a little bit.
At the 8 hour mark (3:00pm), the area around my nose became a little bit shiny, and the foundation sunk in to my pores and gave me polka dot nose. After that, I had to powder and face mist my face because I had meeting to attend at work.
B) Using a BeautyBlender:
First application started at 7:00am. One layer using the BeautyBlender did not do much at all, just gave a layer of shine. After 2 layers, it somewhat balanced out my overall skin tone. It gave light medium coverage with 3 layers on, and a more dewy finish than using the the foundation brush. Again, it doesn’t really set, even after an hour, it still felt tacky to the touch. The bronzer and highlighter moved the foundation just a little bit, not as smooth as the brush application. For some reason it didn’t go on too smoothly on my nose; I tried blending it out but it just gave me separation, and it enhanced my pores.
At the 4 hour mark (11:00am), the coverage in the center of my face was about 30% gone, and not much product left on my chin, all of my redness peaked through. It left a dewier looking, and shinier nose.
At the 8 hour mark (3:00pm), nose area become too oily, coverage pretty much all gone. I could barely see any bronzer and highlighter left. In order not to walk out the office looking like a grease ball, I had to blot off the oil; after blotting, all the foundation were completely gone. I then reapplied light layer of foundation (yes, I have everything in my office for touch-up purposes) and powder just to look semi-decent for another few hours at work, and washed off my face as soon as I got home.
C) Using the Cushion Applicator that it came with:
At 7am, I only needed to apply 2 layers to get the same high medium coverage as using the brush with 3 layers. It gave a natural finish, bronzer and brush went on smoothly. Again, felt tacky to the touch even after 30 minutes. My nose area looked the best when using the cushion applicator, it gave an even coverage, and no polka dot nose and did not enhance my pores.
At the 4 hour mark (11:00am), the foundation started to sink in to small fine lines underneath my eyes, and caked up a little around my nose. Nothing really noticeable unless looking extremely close to the mirror.
At the 8 hour mark (3:00pm), the foundation sunk in to my pores even more, especially around my nose area; and my nose became shinier. Although the rest of my face (cheek, chin, and forehead) looked decent, but again I had to powder my nose a little and face mist because I had meetings to attend.
D) Last Test with Primer and Powder:
At 7:00am, I started my application using the Hourglass Veil Mineral Primer. I chose the foundation brush application, because the cushion application takes longer although they gave similar result. And I finished up with a light layer of Ben Nye Banana Powder; after applying the Banana Powder, the shade matched the rest of my body perfectly because it cancelled out that little pink tone in the foundation. After setting my face with the banana powder, it gave a velvety matte finish, and it smoothed out my pores; bronzer and highlighter went on seamlessly.
At the 4 hour mark (11:00am), nothing has changed since initial application. Pores still looked good and no shine on my nose; it still had the velvety matte look.
At the 8 hour mark (3:00pm), still going strong, except just tiny caked up around my nose but nothing too pronounced. From a conversation distance, it still looked velvety matte and flawless on my normal skin.
At the 12 hour mark (7:00pm), I was able to see a little bit of separation on my nose and chin when I looked super close-up using my 5x mirror, nothing major though. Overall, I wouldn’t mind wearing this everyday if I set it with powder. Sadly, it dried out too fast because of the imperfect packaging; because of that, I might not repurchase again.
Here’s the image of all 8 shades from Wet n Wild’s official website: